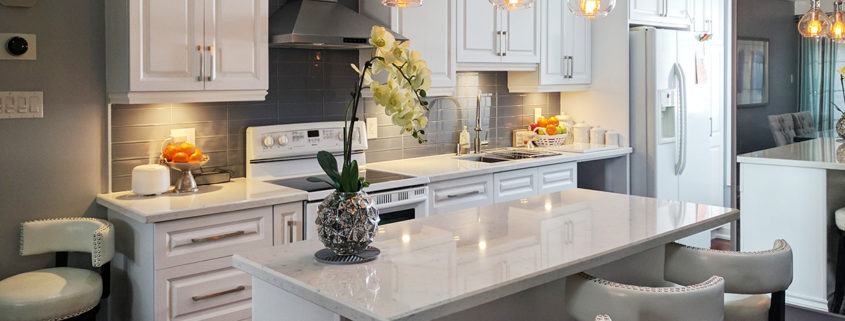
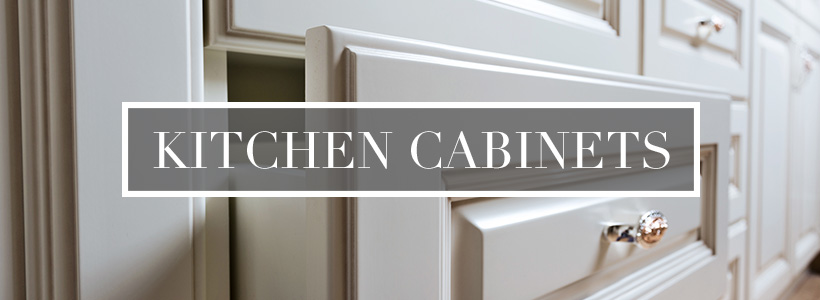
Painting your kitchen cabinets is an important part of updating your kitchen, but there is process that must be followed to yield results that look nice and last for years to come. If you simply slap a coat of paint onto the cabinets without any rhyme or reason, you may find that the paint peels, chips, and wears out over time. Below, we will go over the steps you need to take to paint your kitchen cabinets and get the results that you desire.
Step 1: Prepare for the Job at Hand
Before you dip the brush into the paint, make sure you prepare your kitchen for the job ahead. You will need to remove all of the items from within your kitchen cabinets, remove all hardware, and cover up your kitchen floor and countertops. Make sure you have all of the supplies needed readily available, packages open, and a willingness to stay until the job is done.
Once you have done all of the above, start by cleaning your cabinets and shelves. This will prevent any dust or dirt from getting stuck in the paint and will remove any built up grease and old food.
Step 2: Sand Down the Cabinets and Apply a Primer
Now it is time to grab your sander and start sanding your kitchen cabinets until they roughened up a bit. One thing to keep in mind is that you do not have to keep sanding until all old paint is gone because this can be impossible. Simply make sure that the surface is rough to the touch and the old paint is not shiny any longer.
Once the cabinets are sanded down, vacuum up any dust and debris and then add a primer or sealer to the entire cabinet surface. You will need to allow the primer to dry prior to beginning to paint the kitchen cabinets.
Step 3: Paint Your Cabinets
Now that you have allowed the primer to dry, you can begin painting your cabinets. You should always start with the interior edges of the cabinet door and moving on to the interior side door and then moving outward to the outer facing cabinet door side.
You never want to apply thick coats of paint as the cabinets will take forever to dry and drip are more common. Also, try to use as little brush strokes as you can because the more you brush the cabinet, the more likely you are to create air bubbles.
Step 4: Allow the Cabinets to Dry and Then Hang Them Up
Once painted, allow your kitchen cabinets to thoroughly dry before you attempt to hang them back up. When you are ready to hang them up, attach the hardware to the cabinet FIRST, then attach the door and hardware to the surface.
If you are ready to paint your kitchen cabinets and need guidance on how to perform the job or professional help from experienced painters, call the team at Kitchen & Bath today.
Additional Articles about Kitchen Cabinets:
- 5 Storage Solutions for Kitchen Renovations
- All you Need to Know About Kitchen Cabinets
- DIY: Paint Kitchen Cabinets Like a Pro
- How to Get a Trendy Kitchen That Won’t Soon Be Outdated
- How to Select the Perfect Cabinet
- Important Questions to Ask When Shopping for Kitchen Cabinets
- Kitchen Cabinets: 7 Important Things to Know
- Kitchen Cabinets: You Don’t Have to Start from Scratch
- Kitchen Hardware
- Kitchen Remodelling: Cabinet Door Styles 101
- Light or Dark Kitchen Cabinets?
- Modern VS Old: Managing Contemporary Styles
- Redoing Your Kitchen Cabinets? 5 Trends to Know About
- Remodelling 101: Creating an Efficient Kitchen Space
- Shaker Cabinets: The Perfect Choice for All Kitchen Styles
- Should I Hire a Professional for My Kitchen Design?
- Simple Solutions for A Flawless Cabinet Installation
- Storage Solutions for Your Kitchen Made Simple
- The Benefits of Custom Designed Kitchen Cabinets
- Treasured Freatures: Cabinet Storage Trends in 2016
- Yes! You CAN Have Light Kitchen Cabinets and Dark Floors!
- What to Consider When Buying Kitchen Cabinets in 2020
- Kitchen Cabinets Designs: Which is Right for You
- Tips for Staining Kitchen Cabinets
- Cleaning and Caring for Kitchen Cabinets
- How to Choose Contractor for Kitchen Cabinet Installation
- Choosing Kitchen Cabinets: Stock or Custom
- Kitchen Cabinet Colour Schemes & Finishes
- Benefits of Ready to Assemble Kitchen Cabinets
- Tips for Choosing High-Quality Kitchen Cabinets in 2020
- 7 Timeless Colour Combos for your Kitchen cabinet
- 7 Ways to Maximize Storage Space in your Kitchen Cabinets
- 8 Mistakes you want to avoid while painting kitchen cabinets
- Choosing a Kitchen Cabinet Material: A Simple Guide
- Budgeting for your kitchen cabinets
- Cabinet Door Styles to spruce up your kitchen
- Painting your Kitchen cabinets
- The A2Z of Kitchen Cabinetry – Part 1
- The A2Z of Kitchen Cabinetry – Part 2
- The Complete Guide to Refacing your Kitchen Cabinets
- Things to ask your Custom Kitchen Cabinet Maker
- Care and Maintenance Tips for Your Kitchen Cabinets
- Adding More Cabinets to Your Kitchen
- Re-facing Your Tired Kitchen Cabinets
- Painting Your Kitchen Cabinets to Update the Look
- Why You Need to Update Your Kitchen Cabinets
- The Best Way to Clean Your Kitchen Cabinets
- Refreshing Your Kitchen Cabinets
- Ways to Update Your Kitchen Cabinets in 2020
- Are You Getting the Most Out of Your Kitchen Cabinet Space
- Are Your Kitchen Cabinets Making Your Kitchen Look Old and Drab
- Benefits of Choosing Custom Kitchen Cabinets
- Add 5 These Features to Your Kitchen Cabinets
- Painting Your Kitchen Cabinets Doesn’t Have to Be Hard: Tips to Help
- Learn How to Paint Your Kitchen Cabinets: The 101 Guide
- Your Kitchen Cabinet Buying Checklist
- Your Kitchen Cabinet Guide: What to Know and Look For
- Signs You Need to Replace Your Cabinets and Not Reface Them
- Beautiful Kitchen Cabinets: Door and Drawer Options
- Things to Consider When Choosing Kitchen Cabinet Pulls and Knobs