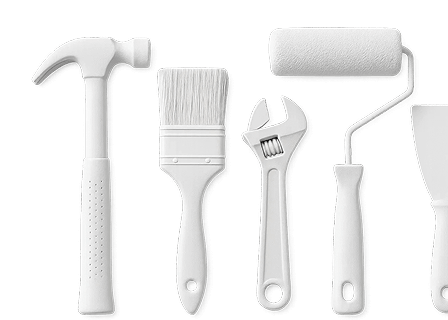
To assemble the oven cabinet you will only need the following tools:
A small rubber mallet
A Phillips No 2 screwdriver or similar sized drill screwdriver attachment. If using a drill, have it set to its lowest speed, especially when tightening lock nuts.
Wood glue
Begin by removing all the contents of the pre-packed oven cabinet box. Keep all the cam screws, dowels and other screws separate from the wood framework and other cabinet pieces. It is far easier to find each relevant piece needed in the construction process if everything is kept neat beforehand.
Begin by taking all the cams and dowels and place them in their appropriate spaces in every part of the wooden framework of the oven cabinet. Each one has a purpose drilled hole in which they will fit perfectly, and it is easy to see exactly where they need to go. With the locking mechanisms, ensure that they are set correctly. These vital pieces provide rigidity for the whole structure once they are locked. For them to lock in the correct fashion, they must be placed with arrows pointing in the direction from which the cams will be installed from, allowing everything to lock into place once turned.
As this is a large cabinet, you will require a big area to work in. Starting on the floor may be your best option in terms of space although if you do have a big enough table, remember to cover it to prevent any damage or surface scratches. Begin with the back of the cabinet, laying it flat on the floor with cams and dowels facing upwards. Install the two relevant shelves and lock them into place. Now tip sideways and connect those two shelves to the first sidepiece of the framework in the same manner. Remember to tap with a mallet to ensure a tight fit and lock into place.
Attach the smaller wooden panel at the bottom of your framework and lock. Now attach both the top and bottom shelves. Make sure they fit securely before locking. Finish the structure by attaching the final side and secure the rigidity of the whole cabinet by ensuring every lock nut is tight. Lastly, install the toe kick panel and lock once it is lined up correctly.
Onto the drawer for the oven cabinet.
Place the pieces for the drawer front face down to help protect the surface. Start by putting a small amount of wood glue into all the female dovetail joints (these are the lowest sections of the joints).
Now attach the sides by connecting the dovetail joints and tapping into place using the mallet. Slide the bottom of the drawer into place. Put a small amount of wood glue into all the female dovetail joints of the back section of the drawer and attach to the side panels, using the mallet to ensure a tight fit. The drawer is complete but still needs to be installed into the cabinet.
Begin by installing the gliders into the cabinet box using the pre-drilled holes. Each glider fits to the left and right of the lowest shelf in the cabinet. Now attach the drawer locking clip to the bottom front section of the drawer, right into each corner.
Extend the glides from the cabinet framework and install the drawer ensuring that the locking clips are connected in the back and the front.
Congratulations, your pantry kitchen cabinet is complete!
