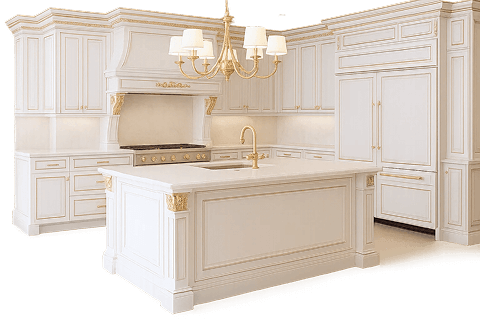
If you have decided to remodel your kitchen then chances are that you have heard about how expensive it can turn out to be. Cabinets and countertops are the most expensive items that you’ll be spending on.
But if you opt for pre-made cabinets, you can easily reduce the cost to less than half of what custom cabinets would cost you. And guess what, you can install them yourself too.
Constructing premade cabinets is always an easier and a cost effective choice than buying them. And if you can build, then there’s nothing like the satisfaction of successfully completing a DIY project.
Even if you are new to constructing cabinets, then here are some instructions that are easy to follow. With some basic tools and the right know-how, you too can make your own wall cabinet with this.
So are you all set to begin?
The Equipment
Having the right equipment handy can help you speed up the task. To construct cabinets, you will need the following tools.
- The premade cabinet kit
- A rubber mallet
- A Philips #2 screwdriver or drill.
That’s it. Nothing fancy. This will get the job done.
The Set up
You can now start working in an area that has sufficient room to build the cabinet. First, remove the contents of the cabinet box and match each part with the instruction sheet. If there are any missing parts, then you may not be able to complete the construction. So ensure that you check this beforehand.
The Installation
In the first part of the installation, we will be installing all the cams and dowels into their appropriate slots. Take your time with this as the cam locking nut must be installed correctly for you to be able to assemble and also take the cabinet apart if need be.
The arrows must face the direction in which the cams will be inserted.
Once you complete this step, place this side of the cabinet on the work surface with the cams and dowels pointing upwards. As shown in our instructional video, place the top partition of the cabinet in place and then lock the cams to secure it.
Similarly, place the bottom partition also on the side of the cabinet and use the rubber mallet to secure it in place.
Now, slide the back panel in ensuring that all dadoes are lined up correctly. The finished side of the panel must face inwards. Ensure that it is a tight fit and is not wobbly. Else, it may mean that you have not secured one of the top or bottom panels correctly.
Place the last panel into place and use the rubber mallet to secure it. Now lock the locking mechanism. All you need to do is turn it halfway.
You can now use the shelf clips provided in the box and install the shelves. That’s it. Your cabinet is ready.
Clean any debris or dust that may be inside the cabinet and you are all set to install it on the walls.
