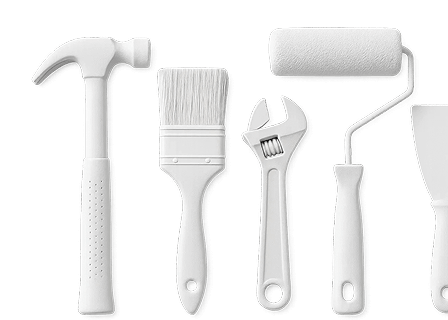
To assemble the spice rack kitchen cabinet you will only need the following:
A small rubber mallet
A Phillips No 2 screwdriver or similar sized drill screwdriver attachment. If using a drill, have it set to its lowest speed, especially when tightening lock nuts.
Begin by removing all the contents of the pre-packed cabinet box. Keep the dowels, cam screws, other screws and glide mechanism separate from the wood framework, shelves, door and toe-kick panel.
Now take all the cams and dowels and place them in their relevant spaces in every piece of the wooden frame. Each one has a purpose drilled hole in which they will fit perfectly. Make sure all locking mechanisms are set correctly as once locked, this ensures rigidity for the cabinet. Remember, for them to lock, they must be installed with arrows pointing in the direction from which the cams will be installed from.
Take one side of the cabinet and begin the construction process by placing it on a large, flat surface such as a table. Make sure that all cams and dowels are facing upwards at this point. Take the back panel of the cabinet and slide it into place making sure that everything aligns correctly and fits together tightly. It is easy to see exactly where this panel needs to fit. Ensure that the finished side of the back panel faces outwards, an easy mistake to make which if not picked up, means you will have to take everything apart and reconstruct the cabinet.
Next up is the pullout rack of the spice rack cabinet which includes installing the all-important glider mechanism. This allows the rack to move freely as it is opened and closed. Take the male part of the ball bearing glider and attach it to the side of the rack section. Remember to make sure that both parts are not only parallel to the rack but to each other as well.
Now move onto the female part of the glider mechanism. This is attached to the cabinet. Line up the right area to connect it by using the male part of the rack section as a guideline. This helps to determine exactly where to place them so everything will line up properly Screw everything tightly into place as these areas are difficult to access once the spice rack is complete and loose screws mean the gliding mechanism may not work smoothly. The rack section can now be attached to the cabinet by sliding it in using the connecting gliders, male into female.
Secure the door to the spice rack using the available screws and your Phillips screwdriver and attach the other side to the framework using the rubber mallet. Tap gently into place. Now is the time to tighten up all the relevant cams. Remember, this unique locking mechanism only requires half a turn to ensure a proper lock. Do not use too much force, a gentle turn is sufficient.
Finally, install the toe kick panel into the front of the cabinet near the bottom of the framework. Lock in place by tightening the final two cams.
Congratulations, your spice rack cabinet is complete!


