The base cabinet is a standard storage unit for any kitchen setup. Today, we are going to explain how to install the base cabinets correctly.
As always, getting organized beforehand is the easiest way to complete a DIY installation project successfully. So grab the tools that you are going to need for the installation.
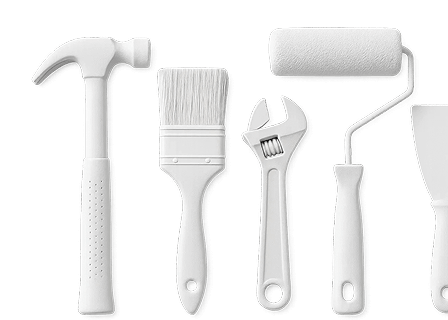
You will be needing:
- A Rubber Mallet
- A Philips #2 Screwdriver
- A Drill
- Wood Glue
The Installation
In your work area with sufficient space, remove the contents of the cabinet box and keep them aside. You can use the box as a surface to prevent the cabinet panels from getting scratched during installation.
The cabinet panels come with predrilled holes to facilitate the installation of cams and dowels. So, the next step is to install the cams and dowels into place in each panel.
Once you have installed the cams and dowels, it’s time to install the locking mechanisms.
The locking mechanisms should be installed correctly with the arrows facing the direction that the cams will be coming in.
Now place one side of the cabinet on the work area with the finished side inwards and the cams and dowels facing in the upward direction.
Place the side panel into place and secure the locking mechanism until it is locked securely. Now place the back panel into the dado joint and ensure that it is lined up correctly and not pushed outwards from either direction. Also check if it sits all the way flush.
There will be three dividers in the box that works as a support for the top panel. Install these in a similar fashion and lock the cams using the locking mechanism with a half turn using the screwdriver.
Now place the other side of the cabinet and secure it with the rubber mallet. Install the toe kick.
This completes the cabinet assembly. Now let’s install the drawers.
The drawer fronts have predrilled indented female dove joints for easy application of adhesive. Apply a bead of glue on each joint. Next, place the sides of the drawers into these grooves using the rubber mallet. Ensure that it is a snug fit in each groove.
Now slide the bottom of the drawer into each dado and secure it firmly. In a similar fashion, apply the glue into each female joint on the back side of the drawer box and place the back piece of the drawer and secure it with a rubber mallet.
You will now need to install the drawer locking screws on the bottom part of the drawers using the drill. These screws must be installed in the corner on each side.
The cabinet box has predrilled holes on the inside for installation of the glides. Install the glides accordingly and screw them securely using the drill. Extend the glides to install the drawer box. Before installation, ensure that the back of the glides are locked into the back hooks and the fronts are hooked into the drawer clips.
The drawers can be adjusted once the installation is completed. Now you can use the shelf clips provided in the box for installing shelves where necessary. That’s it. Enjoy your DIY project!
